While you will likely call one of the premiere maid services in the Newtown Square, PA area for the big home cleaning projects, there are some household chores you might handle yourself. One of the most often-ignored household chores is dusting the furniture—most people only dust when the buildup becomes noticeably overwhelming and needs immediate attention.
At first glance, dusting should be a breeze. Get your feather duster, get your aerosol can of choice, and start going after dust mites until it’s nice and clean. Sounds simple, right?
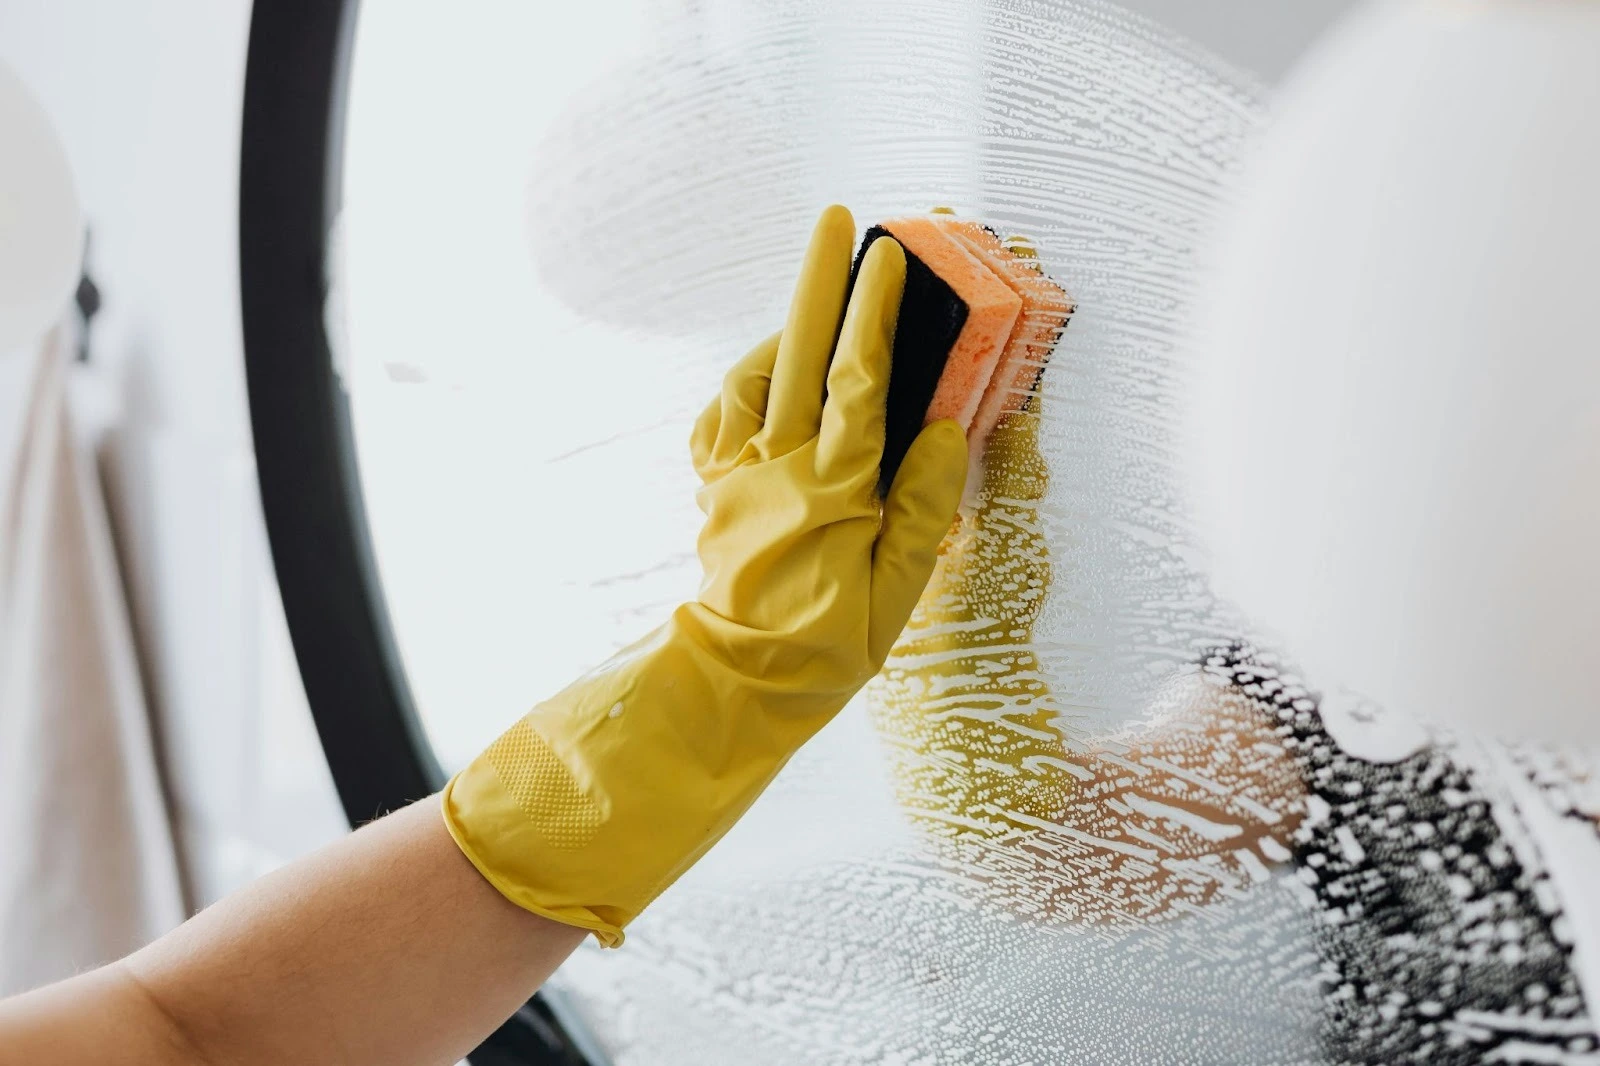
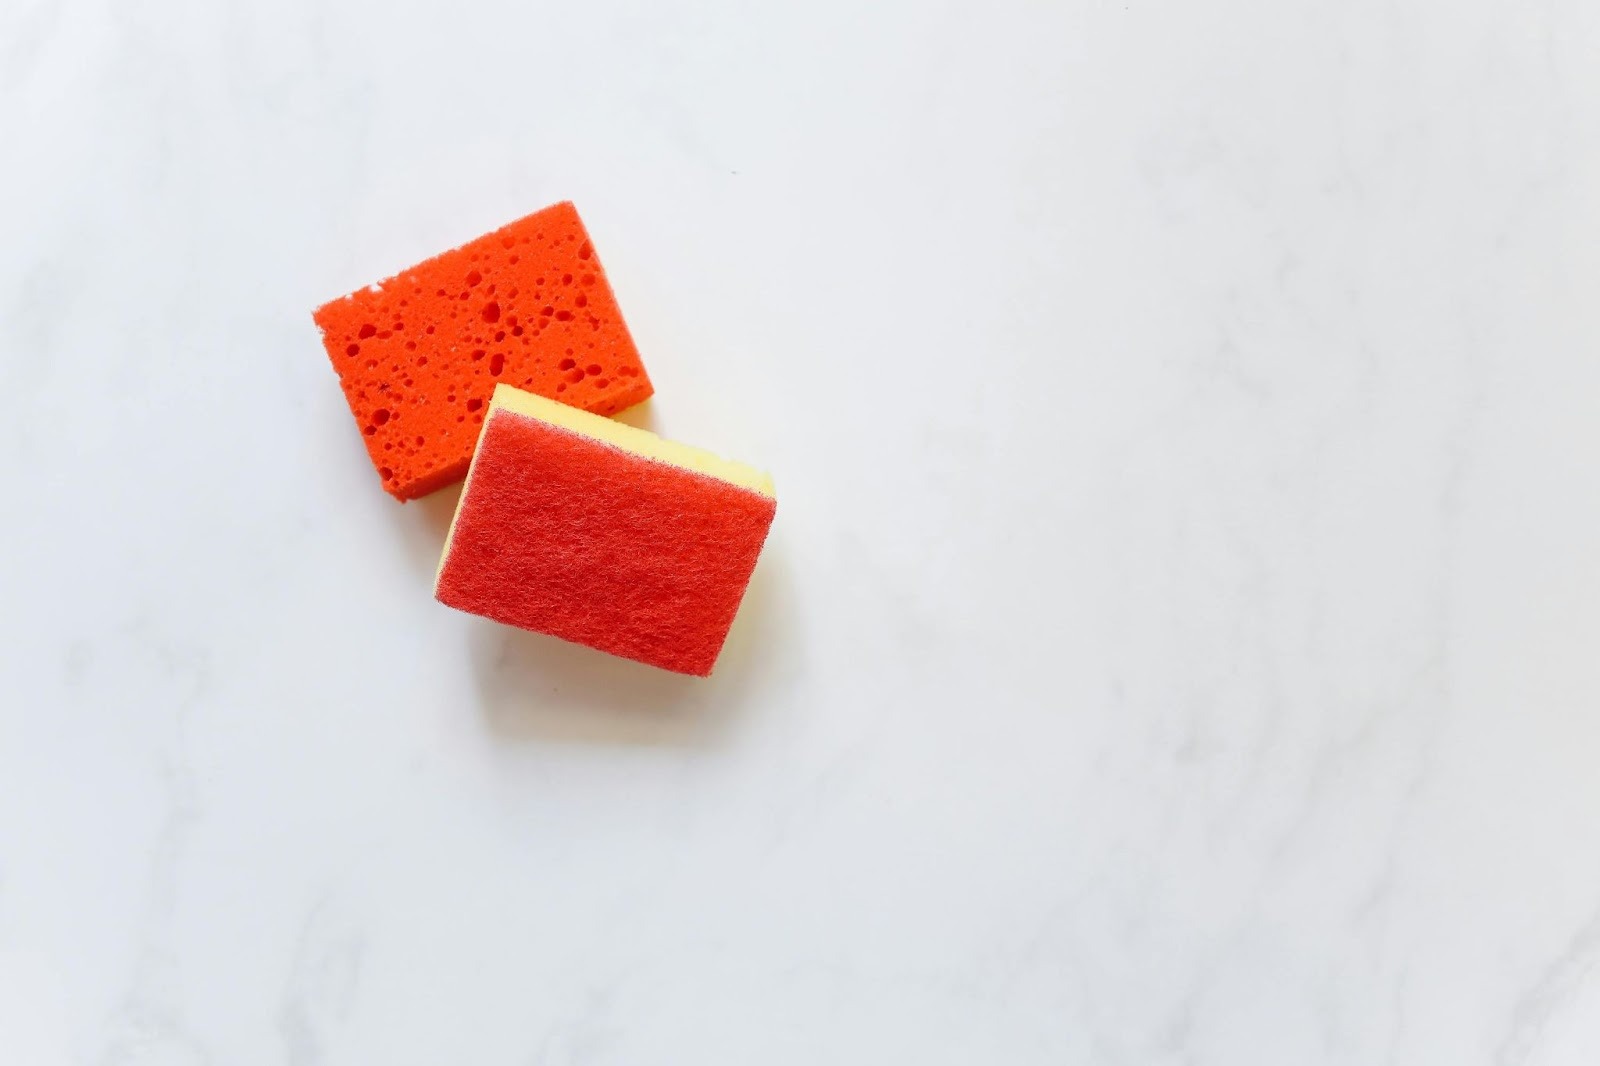
However, to get the best dusting performance for your home, you only need three simple ingredients: two cloth pieces and a little bit of water.
Why Not Use a Dry Cloth for Dusting?
A dry cloth seems like it should be just as effective as a damp cloth without the need to dry the area after you have finished dusting. However, while you can use a dry cloth to help dust your furniture, it is not the most practical method. The dry cloth does not necessarily wipe the dust away — it only rearranges it slightly to the point where you think the job is done, only to find yourself coming back shortly after.
So, what about a slightly damp cloth makes it such a superior option that it justifies getting the second cloth to soak up the dampness?
Damp Dusting: How Is A Damp Cloth That Much More Effective?
The science behind why damp dusting is more efficient than a dry cloth comes from the fact that a damp cloth introduces capillary force to the dust particles. In short, the damp cloth draws the particles in and lifts dust from the area instead of moving them around.
The key to using a damp cloth is using one that is merely damp and not actively wet. As you begin to damp dust the area, the fabric should not leave behind visible pools of water droplets. If there is still residual water when you go over it again with your dry cloth, it negatively affects the sheen you can achieve on your freshly dusted furniture.
Ideally, damp dusting should not leave any residue after wiping down an area, ensuring an even and clean look across the entire surface.
Tackling Common Household Cleaning Chores the Right Way
Your home has many areas that can prove tricky to clean if you don’t have the right tools and plan in place. Homeowners can clean these common areas, but if they aren’t done efficiently, you’ll be back to cleaning them before you know it.
Now that we have covered the benefits of damp dusting over dry dusting let’s cover some of the basics of dusting common areas and items in your home. Here are a few helpful tips to assist you in getting the most out of your household cleaning:
How To Properly Clean Baseboards
When you have company coming over, you want to hit every corner of your home and ensure it’s spotless. That’s usually when you remember that you haven’t touched your baseboards since the last time the company came over. Baseboard represents one of the quickest areas in your home that gets dirty but one that always slips your mind until you’re reminded about them.
Due to their location so close to the floor, baseboards can get extremely dirty extremely quickly. When you are faced with the chore of cleaning your home’s baseboards, it is best to follow these simple steps:
What Tools you Need:
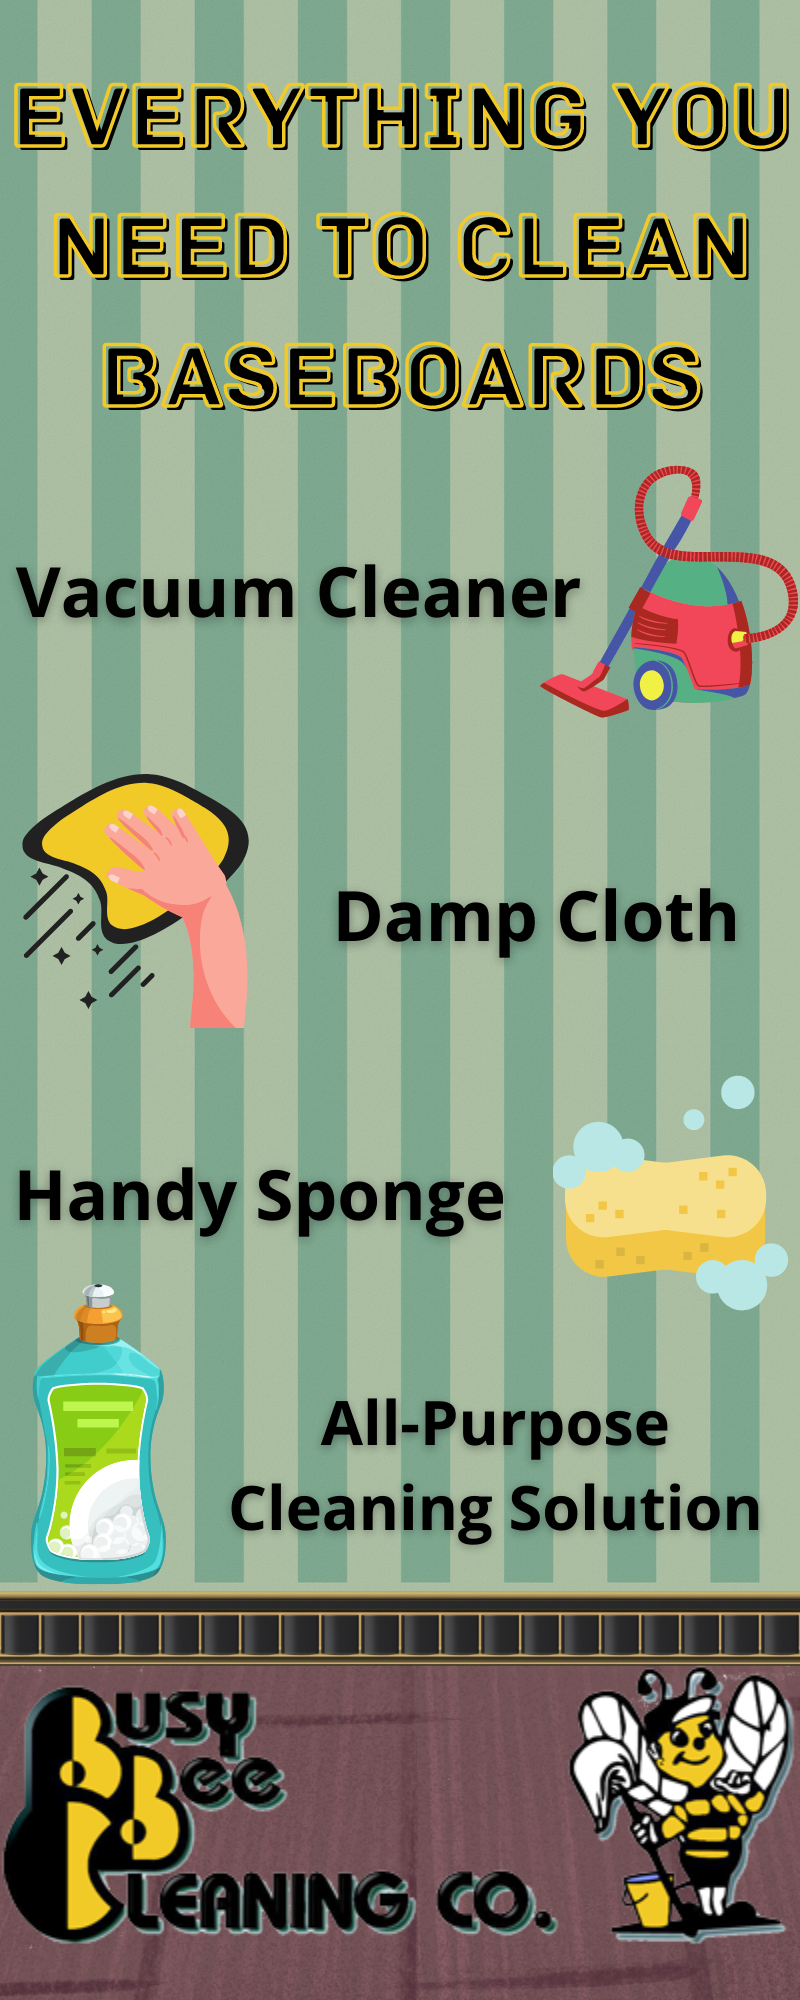
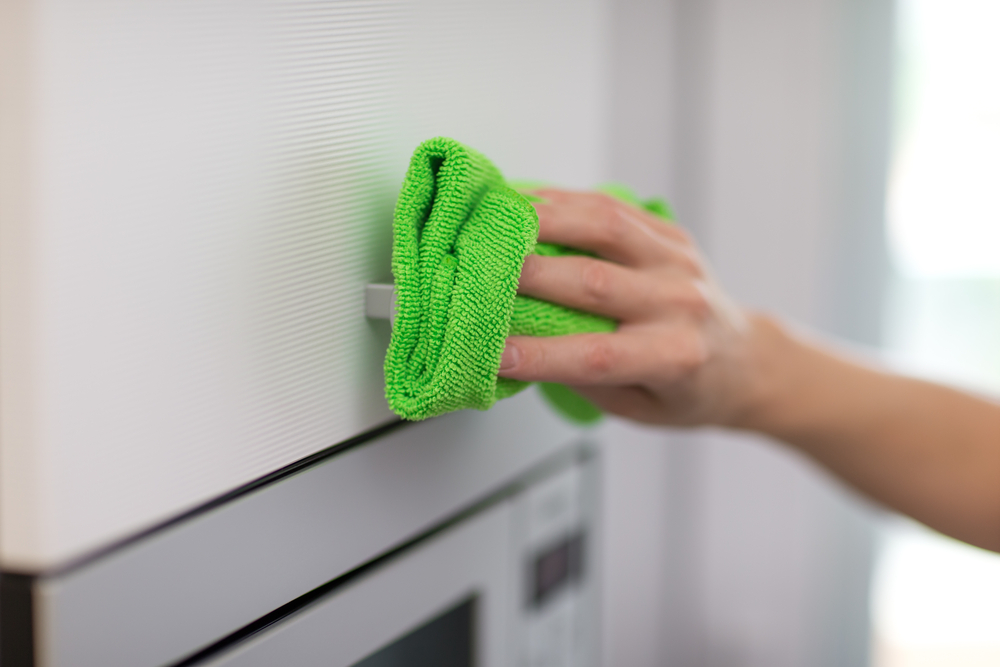
Step 1: Lightly dampen a cloth with water or a multi-purpose cleaning solution. Make sure the fabric is not soaked but merely damp.
Step 2: Run the cloth from left to right or right to left in continuous strokes. The damp cloth will remove debris and layers of dust from the baseboard as you clean.
Helpful Hint: To avoid wiping already cleaned areas with additional dirt, be sure to rinse the cloth throughout the cleaning process.
How to Properly Clean Vents
No matter if we’re talking about dryer vents, refrigerators, or some other home appliance, it’s likely been a while since the last time you cleaned their vents, if ever. Vents play an essential role in keeping your home appliances functioning properly, and thoroughly cleaning the vents can help extend their lifespan.
Vents can be found throughout many areas of your home, from the ductwork that pushes hot and cold air from your HVAC system to vents on the back of refrigerators, microwaves, and other appliances. Cleaning vents can be tricky as you don’t want to push dust and debris into the vent openings. Here are some simple tips to assist you in cleaning the vents in your home:
Step 1: Use a vacuum cleaner equipped with a soft-bristle brush and lightly go over each vent you want to clean. Make absolutely certain not to push the bristles into the vent openings, as this will only push the dirt further into the ductwork or appliance vent you are cleaning.
Step 2: Use a damp cloth to wipe the surface area of the vent. If the vent’s openings are also dirty, carefully wipe each opening individually with a corner of the damp cloth. Use continuous side-to-side motion while cleaning to remove any dust or debris.
Helpful Hint: Some vents can easily be removed for cleaning. Check to make sure the vent is not removable before beginning the cleaning process. If you can remove the vent, take it off and clean it away from the opening it was covering.
How to Properly Clean a Ceiling Fan
Ceiling fans can make a huge difference when it comes to cooling a home. They have many benefits and can reduce your energy costs. That said, ceiling fans have their drawbacks. Due to ceiling fans’ position and constant motion, they tend to get dirty very quickly.
Dust and debris accumulate on each of the blades and, if not cleaned regularly, can inhibit the fan’s effectiveness. Here are some small steps you can take to clean your ceiling fans properly:
Step 1: Place old newspapers or a dry cloth under the ceiling fan area on the floor. This will catch any dust or dirt that falls as you are cleaning.
Step 2: Use a damp cloth that has been treated with a mild detergent to wipe down the casing and blades. Make sure to wipe each blade from the center of the fan outward. This will ensure any excess dust will fall to the floor rather than accumulate near the fan’s casing area.
Helpful Hint: It is essential to thoroughly clean both the upper and lower sides of the fan blades. This will ensure that your blades are performing optimally the next time you use the fan. Cleaning the upper portion of the fan blades may require additional passes with the damp cloth to remove built-up dust.
Want to put your dusting knowledge to the test? Take our quiz to see how much you know about damp cloth vs. dry cloth dusting!
Now that you know that a damp cloth beats out a dry cloth for overall dusting effectiveness, you may find yourself in need of help for more involved home cleaning projects. For West Chester, PA residents looking for a residential cleaning service, look no further than Busy Bee Cleaning Company! Contact our team today to schedule an appointment!